You’ve spent time crafting the perfect logo for your business—now you want it stitched onto hats, polos, or jackets to boost brand recognition. But if you’ve ever tried to load a regular image file (like a JPG or PNG) into an embroidery machine, you quickly realized it doesn’t work that way. Embroidery machines don’t understand pixels—they need a digitized file that tells them exactly how to stitch your design.
The good news? You don’t need to be a tech expert to get professional-looking embroidered logos. Whether you’re doing it yourself or using a service, here’s how to digitize your logo for embroidery in five simple steps—without the frustration.
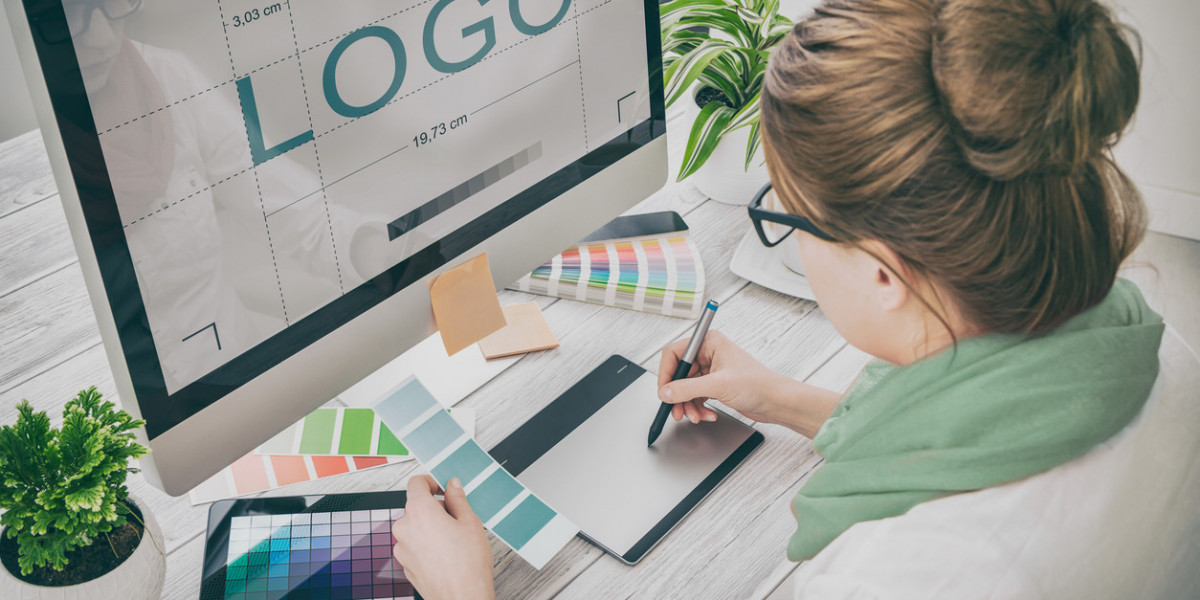
Step 1: Start with a High-Quality Logo File
Before digitizing, you need a clean version of your logo. The better the file, the better the embroidery result.
Best File Types for Digitizing:
- Vector files (AI, EPS, SVG) – These are ideal because they can be scaled without losing quality.
- High-resolution PNG/JPG (300 DPI+) – Works in a pinch, but may need manual cleanup.
What to Avoid:
- Low-resolution images – They’ll turn out blurry when stitched.
- Complex gradients or tiny text – Embroidery simplifies details, so ultra-fine lines may get lost.
Pro Tip: If your logo has small text (under ¼ inch), consider simplifying it before digitizing.
Step 2: Choose Your Digitizing Method
You have two main options:
Option 1: Use Embroidery Software (DIY)
If you embroider frequently, investing in digitizing software gives you full control. Some top choices:
- Hatch Embroidery – User-friendly for beginners.
- Wilcom EmbroideryStudio – Industry-standard for professionals.
- Brother PE-Design – Great for Brother machine owners.
Pros:
✔ Full creative control
✔ Cost-effective if you digitize often
Cons:
✖ Steep learning curve
✖ Expensive upfront cost
Option 2: Hire a Professional Digitizing Service
If you only need a few logos digitized, outsourcing is faster and easier. Services like Digitizing Buddy, Absolute Digitizing, or Cool Embroidery Designs handle everything for you.
Pros:
✔ No software to learn
✔ Perfect results the first time
✔ Affordable for one-off projects
Cons:
✖ Less control over stitch details
Step 3: Optimize the Design for Embroidery
Whether you’re doing it yourself or working with a service, your logo needs adjustments to stitch well:
Key Adjustments:
- Simplify small details – Tiny text or intricate patterns may need to be boldened.
- Choose stitch types – Satin stitches for text, fill stitches for solid areas.
- Set proper density – Too many stitches = stiff fabric; too few = gaps.
- Add underlay stitches – Prevents fabric from puckering.
Pro Tip: If digitizing yourself, always preview the design in your software before stitching.
Step 4: Test Stitch on Scrap Fabric
Never skip this step! Even the best-digitized files can behave differently on actual fabric.
How to Test Properly:
- Use the same material you’ll embroider on (e.g., twill for hats, polyester for polos).
- Check for:
- Puckering (adjust density if needed)
- Thread breaks (may need pull compensation tweaks)
- Misaligned stitches (redo digitizing if necessary)
Pro Tip: Keep a notebook of settings that work best for different fabrics.
Step 5: Save in the Right Format & Start Stitching
Once your design stitches perfectly, save it in the correct format for your machine:
Common Machine Formats:
- Brother/Babylock: PES
- Nome: JEFF
- Tajima/Commercial: DST
- Pfaff/Husqvarna: VIP
Pro Tip: Always keep a backup of your original digitized file in case you need adjustments later.
Bonus: Common Mistakes to Avoid
1. Using a Low-Quality Logo
➔ Fix: Start with a vector or high-res file.
2. Skipping the Test Stitch
➔ Fix: Always test on scrap fabric first.
3. Overcomplicating the Design
➔ Fix: Simplify small text and fine details.
4. Ignoring Fabric Type
➔ Fix: Adjust stitch settings for stretchy vs. stiff fabrics.
DIY vs. Professional Digitizing: Which Should You Choose?
Factor | DIY Digitizing | Professional Service |
Cost | $200+ for software | $10–$40 per design |
Time | Days/weeks to learn | 24–48-hour turnaround |
Best For | Frequent embroiderers | One-time projects or businesses |
Final Thoughts
Digitizing your business logo for embroidery doesn’t have to be complicated. Whether you do it yourself with software or hire a pro, following these five steps ensures your logo stitches out cleanly every time.
Recap:
- Start with a high-quality file.
- Choose DIY software or a pro service.
- Optimize for embroidery (simplify, adjust stitches).
- Test stitch before final production.
- Save in the right format and start branding!
Now you’re ready to get your logo perfectly stitched on uniforms, hats, and promotional items—making your business look polished and professional.
Need a flawless digitized logo fast? Try a professional service and skip the learning curve!