The kitchen has evolved into more than just a space for cooking. It is now a social hub, a workspace, a place for entertaining, and often the heart of the home. With that transformation, it deserves great audio just like any living room or home theater. Whether you are listening to music while cooking or catching up on a podcast over breakfast, the right ceiling speaker placement in your kitchen can enhance the entire experience.
Designing an audio system for a kitchen can be tricky due to its layout, materials, and appliances. This is where XTEN-AV, a powerful cloud-based AV design platform, proves incredibly useful. With XTEN-AV, you can map out your kitchen space, input dimensions, avoid obstructions, and simulate sound coverage before drilling any holes or running wires. It takes the guesswork out of speaker placement and helps ensure consistent, high-quality sound throughout your kitchen.
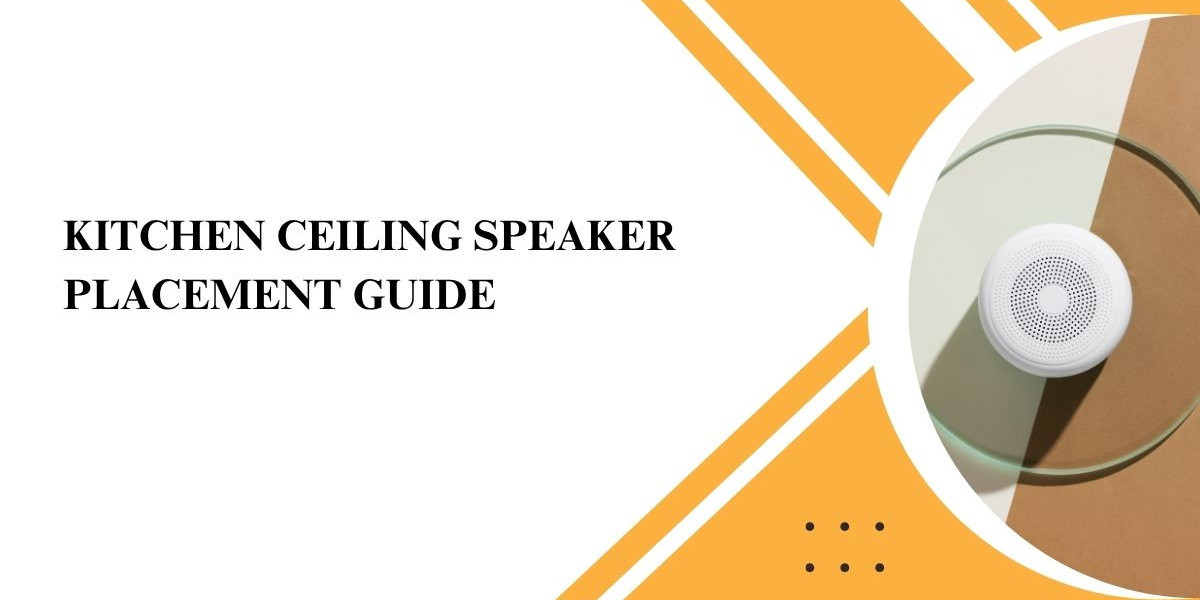
Why Install Ceiling Speakers in the Kitchen
Kitchens are full of hard surfaces such as tile, stone, and stainless steel, which reflect sound and create echo. A well-designed ceiling speaker setup can balance audio performance and maintain clarity even in acoustically challenging environments.
Here is why ceiling speakers are ideal for kitchens:
They save counter and wall space.
They blend with lighting fixtures for a clean look.
They deliver even sound without interfering with appliances.
They support multi-room systems and home automation.
But getting the setup right means considering the unique characteristics of your kitchen and designing accordingly.
Step 1: Analyze the Layout of the Kitchen
Before selecting speakers or planning wiring, take a good look at your kitchen layout. Ask yourself:
Is it an open-plan kitchen connected to other rooms?
Are there zones within the kitchen like a cooking area, island, or breakfast nook?
Is there a lot of cabinetry or overhead storage that blocks ceiling space?
With XTEN-AV, you can draw your kitchen’s floor plan to scale, identify each zone, and begin planning audio coverage for every part of the space. You can also import architectural drawings and overlay your AV design for accuracy.
Step 2: Determine How Many Speakers You Need
The size and shape of your kitchen will influence how many speakers you need. As a general rule:
Small kitchens (under 150 square feet) often need one or two speakers.
Medium kitchens (150 to 300 square feet) usually need two to four.
Large or open-concept kitchens may require four or more, depending on connected spaces.
Using XTEN-AV, you can simulate speaker coverage based on your room dimensions and ceiling height to avoid both over-coverage and under-coverage.
Step 3: Plan for Zones Within the Kitchen
Kitchens are dynamic spaces with multiple functions. You may have a breakfast bar on one end, a food prep area near the stove, and a reading nook by the window. Consider creating separate audio zones if needed.
For example:
One zone above the island for background music.
Another above the prep area for more direct sound.
A third zone extending to an adjacent dining area.
XTEN-AV allows you to assign speakers to zones and connect them with automation platforms, giving you flexible control over where and when sound is played.
Step 4: Understand Kitchen-Specific Obstacles
Kitchens present unique challenges for ceiling speaker placement:
Vents and ductwork: Avoid placing speakers near HVAC vents, as airflow can distort sound or interfere with speaker longevity.
Lighting fixtures: Recessed lights often share the same ceiling area. Plan around them to prevent layout conflicts.
Cabinetry and appliances: Upper cabinets and large appliances can block or reflect sound waves. Do not place speakers directly above them.
Heat and humidity: Make sure to use moisture-resistant or kitchen-rated speakers designed to withstand steam and heat.
Using XTEN-AV’s layered design approach, you can mark lighting, vents, and cabinetry directly on your floor plan to plan around them with precision.
Step 5: Choose the Right Speaker Type
Not all ceiling speakers are created equal, and choosing the wrong type for a kitchen can result in poor audio or damaged equipment. Look for:
Moisture-resistant speakers designed for humid environments.
Speakers with wide dispersion angles to fill the room evenly.
Adjustable or directional tweeters for more focused sound control.
XTEN-AV’s product library includes models from top AV brands, along with specifications like dispersion angle, power rating, and installation depth. You can preview how each speaker type will perform in your kitchen environment.
Step 6: Position the Speakers Strategically
Here are some practical guidelines for placing ceiling speakers in a kitchen:
Space them 6 to 10 feet apart for even coverage.
Avoid placing speakers directly over the stove, sink, or dishwasher.
Aim for symmetry to balance sound across the space.
Keep speakers at least two feet away from walls or large vertical surfaces to reduce reflection.
For stereo sound, install in pairs — one left and one right speaker.
In XTEN-AV, you can drop speakers into the design and use built-in spacing guides to ensure proper alignment. The platform will also alert you if placement is too close to conflicting elements.
Step 7: Plan the Wiring and Amplification
Ceiling speakers need to be connected to an amplifier or AV receiver. Plan your wiring route before installation, making sure to:
Use appropriate speaker wire gauge (usually 14 or 16 AWG).
Avoid running wires near power lines to prevent interference.
Keep wire runs as short and direct as possible.
XTEN-AV automatically generates wiring diagrams, including wire lengths and routes. This makes the installation smoother and ensures everything connects correctly to your AV system or smart home hub.
Step 8: Test and Fine-Tune the Setup
Once the speakers are installed, test them with different types of audio — music, speech, and podcasts — to check for clarity and coverage. Walk through the room and listen from different positions. Adjust volume levels or tweak speaker direction if needed.
You can also link your kitchen zone with a whole-home audio system or set up automation routines using voice commands and smart controls. With XTEN-AV, every detail can be planned in advance to make this integration seamless.
Conclusion
Great audio can elevate the mood, functionality, and enjoyment of your kitchen. But achieving that perfect sound starts with proper ceiling speaker placement. Kitchens come with their own set of design challenges, including hard surfaces, layout constraints, and environmental conditions. That is why careful planning is essential.
XTEN-AV makes it easy for homeowners, AV integrators, and designers to build a complete audio solution for any kitchen. With its drag-and-drop design tools, zone mapping, wiring diagrams, and vast product library, XTEN-AV ensures your speakers are placed exactly where they will sound best.
Whether you are renovating your kitchen or building a new home, do not leave your audio to chance. Use XTEN-AV to design a sound system that looks great, works flawlessly, and turns your kitchen into the ultimate listening space.
Read more: https://social.sktorrent.eu/read-blog/37485